Document Work Flow
Preface
The following describes how to deal with the workflow that accompanies faxed or scanned documents.
An 10 minute video on workflow that shows all this functionality in practice is available on you tube
Document Version History
- v1.0 – initial public release on oscargalaxy.org – Oct 25, 2023
This document is copyright by Peter Hutten-Czapski 2023 ©
Uploading the Documents
Incoming documents can be uploaded in a variety of means
- uploaded by script to the document sorting directory
- uploaded manually
Manual uploads can be done via Inbox > Doc Upload

Drag and drop any files and click the large Upload button
Catalog the Upload
With Inbox > Incoming Docs you can categorize the incoming files and attach them to demographics (patients) and providers (doctors)

Enter the Type, Description and select the Demographic and Provider. Most people find the advanced interface “fast” better than the “normal” one.
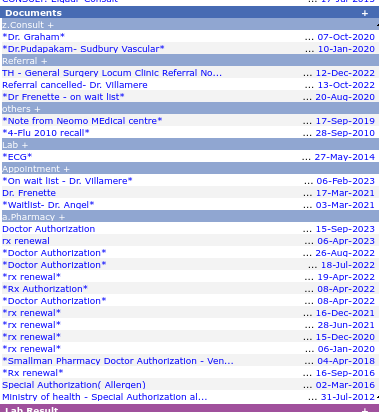
The Type will show in the inbox and in the Group by type listing in the echart as shown below. The description is the description that shows as the link for the document.

Most providers will first notice the uploaded document in their inbox.
Inbox
The Inbox is where the documents are reviewed and action-ed

Pick a document in either list view or preview and action as required. In this case I would use the “normal” macro to comment and acknowledge the document.

Fine Tuning
Type Categories
You can control the Categories available through Admin > System Management > Document Categories
There are two document types, one for Demographics (patients) and another for Providers (doctors). You can add and inactivate types here.

Quick Description Templates
You can provide quick entry descriptions for the incoming docs with Admin > System Management > Document Description Template
Pick a type and then either add or edit a shortcut (for the button) and description (for the pasted description)

